Cold Plunge Chiller Placement: Noise, Ventilation, Drainage & Setup
Quick answer: Put a cold plunge chiller on a firm, level, dry surface with the manufacturer’s required airflow and service clearances. Keep hoses short and protected from kinks, give draining water a legal path, use only the specified electrical supply and avoid bedrooms or shared walls when compressor noise could be disruptive. Never enclose the chiller simply to make it quieter unless the manufacturer approves the enclosure design.Chiller placement determines whether a cold plunge feels like a clean home-recovery setup or a constant maintenance problem. The purchase decision is not only about horsepower or target temperature. Air must move through the unit, water must circulate without restriction, condensate and tub drainage need a destination, and someone must be able to reach filters and connections.
Before building a platform or cabinet, see current PlungeChill chiller options (paid link) and use the exact installation manual for the model under consideration.
The four zones every setup needs
Airflow zone
Compressor equipment releases heat. Preserve the intake and exhaust clearances in the manual and do not aim hot exhaust directly into a closed corner.
Water zone
Plan hose routing, filter access, leak inspection and a controlled way to drain the tub without flooding the equipment.
Electrical zone
Use the specified circuit and protection. Keep plugs, connections and extension cords out of wet pathways; consult a licensed electrician when required.
Service zone
Leave enough room to remove panels, clean filters, tighten fittings and replace hoses without moving a full tub.
Indoor, garage or outdoor placement?
| Location | Advantages | Planning risks |
|---|---|---|
| Conditioned indoor room | Stable ambient temperature and convenient use | Noise, condensation, leaks, humidity and floor protection |
| Garage | Utility access and easier drainage planning | Freezing or high heat, dust, vehicle fumes and unconditioned temperature swings |
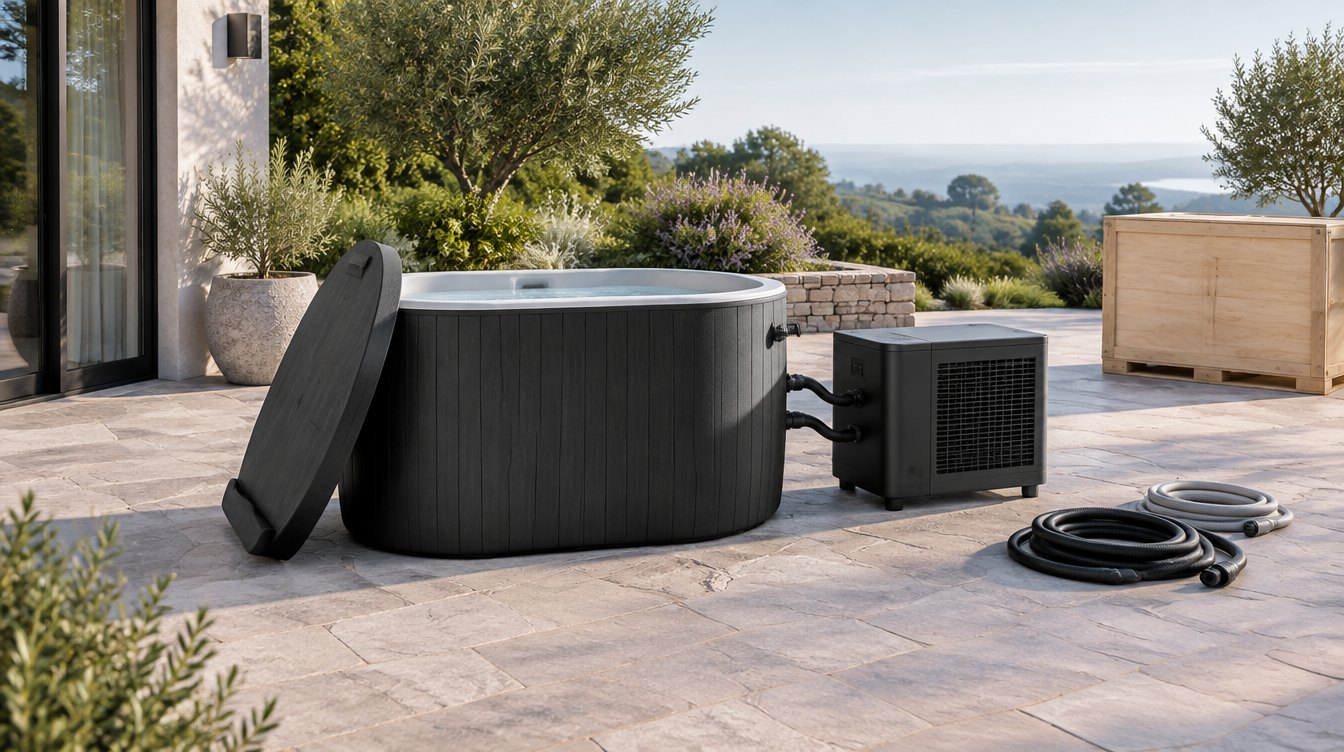
| Covered patio | Open air and reduced indoor noise | Weather exposure, electrical code, insects, debris and freeze protection |
| Open yard | Flexible layout | Direct sun, rain, windblown debris, vandalism and manufacturer warranty limits |
Noise: plan for vibration as well as sound
A chiller can create compressor hum, fan noise and vibration transmitted through a hard floor. Published sound figures, when available, may not predict how the unit will sound in your room. Corners and bare walls can reflect noise, while a lightweight deck can amplify vibration.
Place the unit away from sleeping rooms and neighbor-facing boundaries where possible. A manufacturer-approved anti-vibration pad may help with structure-borne vibration, but it must remain stable and cannot block drainage or airflow. Do not wrap the unit in blankets or build a sealed box around it.
Practical test: Tape the planned footprint, stand at the nearest bedroom or shared wall, and identify the route through which vibration could travel. Discuss any enclosure, screen or acoustic treatment with the chiller manufacturer before building it.Ventilation: the clearance is part of performance
A chiller moves heat out of the water and into surrounding air. In a small utility closet, that heat can accumulate and make the unit work harder. Follow intake, exhaust and overhead clearances exactly. Decorative slats do not guarantee adequate airflow, and a fan added to a cabinet is not automatically compatible.
If you want a cleaner built-in look, review PlungeChill equipment specifications (paid link) first, then give the installer the model’s airflow diagram. Design around the equipment rather than selecting the equipment after millwork is complete.
Drainage and condensate
Plan for three different water events: routine tub draining, small amounts from hose disconnection or filter service, and unexpected leakage. A floor drain can be helpful but does not replace a level base, secure connections and regular inspection. Outdoors, local rules may restrict where treated water can be discharged.
Never route water across a walking path or toward electrical equipment. If a drain hose must cross a threshold, redesign the route instead of accepting a permanent trip hazard. In basements, confirm that a floor drain is functional and appropriate for the expected water volume.
Hose routing: shorter and simpler is usually better
Long, tightly coiled or kinked hoses can restrict flow. Use the hose diameter, length range and fittings specified by the manufacturer. Support hoses so their weight does not pull on ports, and protect them from pets, sharp edges, doors and vehicle tires.
Arrange connections where a small drip is visible. Hidden connections behind a finished wall may delay leak detection and complicate service. Keep shutoffs and filters reachable without climbing over the tub.
Electrical safety around water
Water and electricity require disciplined planning. Use only the voltage, circuit and grounding requirements in the model documentation. Do not assume a household extension cord is acceptable. The U.S. Consumer Product Safety Commission emphasizes ground-fault protection in areas where electrical equipment may contact water; a licensed electrician can determine applicable code and safe receptacle placement.
The disconnect or plug should remain accessible, but not where wet hands or splashing make normal use unsafe. If outdoor placement is allowed, all components and receptacles must be suitable for that environment.
Before-you-buy measurement checklist
- Record tub footprint, filled weight and access path.
- Record chiller dimensions plus every required service and ventilation clearance.
- Measure hose routing without tight bends or door crossings.
- Identify a legal drainage route and a backup plan for leaks.
- Confirm ambient operating-temperature limits for every season.
- Confirm circuit, voltage, plug and ground-fault requirements.
- Check noise exposure at bedrooms, workspaces and property boundaries.
- Plan filter access and room to remove service panels.
- Verify weather protection without restricting airflow.
- Keep the manual and photograph the installed connections.
Three common setup scenarios
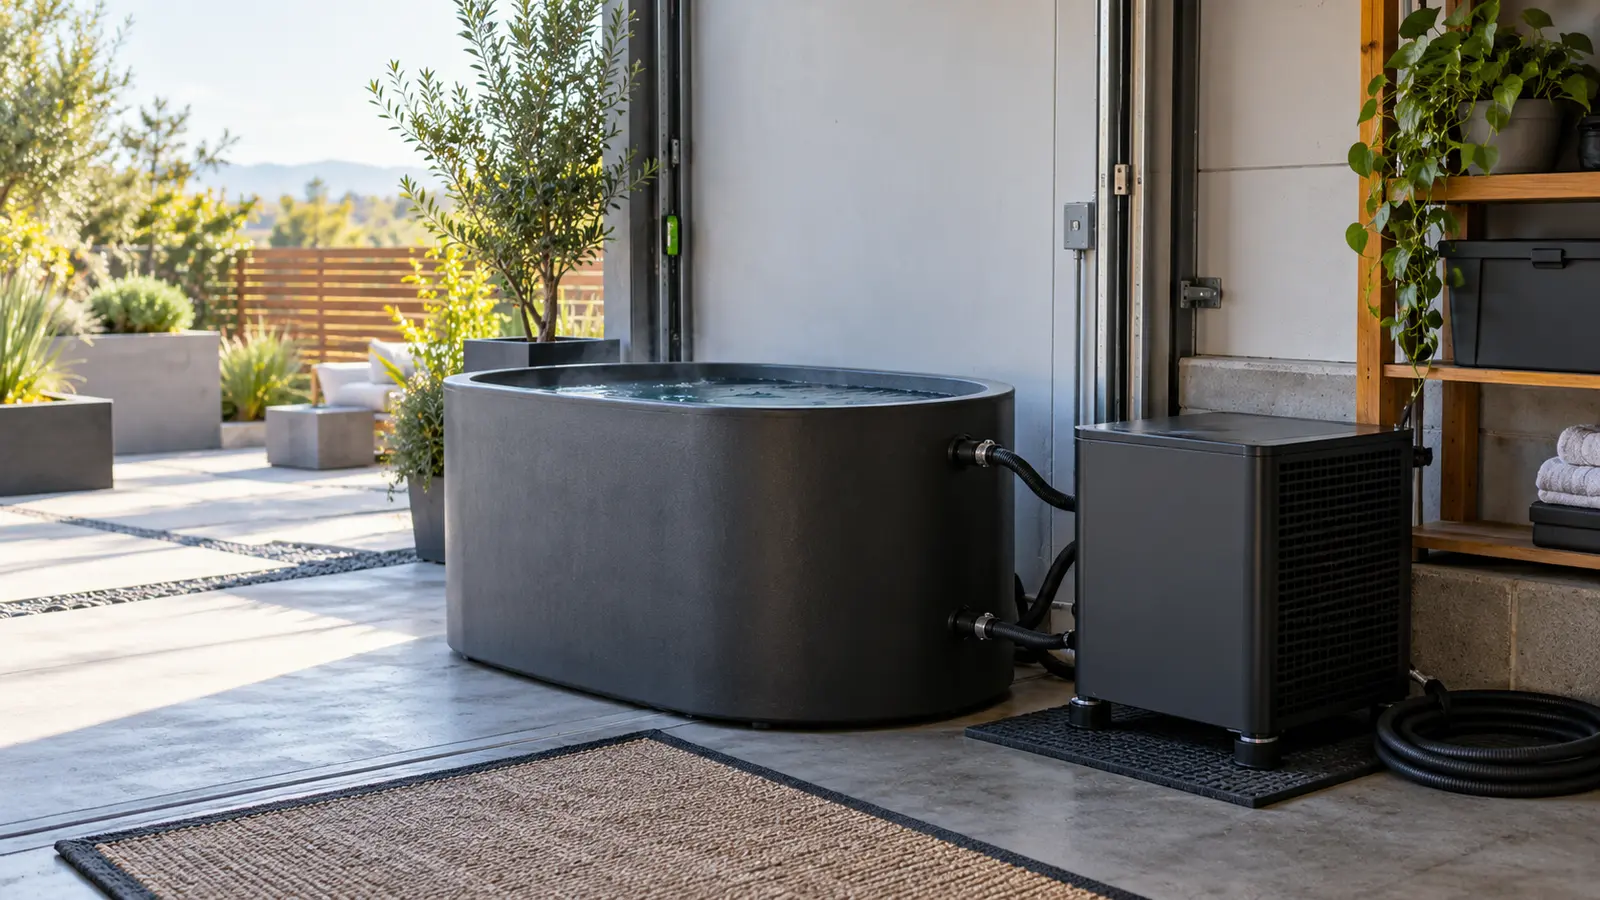
Garage recovery corner
A garage can work when ambient temperatures stay within the approved range and the equipment is protected from vehicles and dust. Use a stable base, keep hoses away from tires, and do not drain chemicals into the street or storm system.
Covered patio
Confirm outdoor approval, rain protection and freeze procedures. Shade can reduce solar heat load, but the chiller still needs open airflow. Wind-driven rain can reach farther than the roof edge suggests.
Indoor wellness room
Prioritize waterproofing strategy, ventilation, leak detection and acoustic separation. A floor tray may contain minor drips but is not a substitute for a plan to drain the full tub.
Maintenance access affects long-term cost
A chiller that fits beautifully but cannot be serviced is not a good installation. Filters need cleaning or replacement, hoses age, fittings loosen and heat-exchange surfaces collect dust. Preserve clear access and follow the maintenance intervals in the current manual rather than a generic schedule.
When comparing systems, compare PlungeChill setup options (paid link) by placement requirements as well as cooling capacity. The right model is the one your actual space can support safely and maintainably.
FAQ
Can a cold plunge chiller go in a closet?
Only if the manufacturer approves the space and all airflow, temperature, electrical and service-clearance requirements are met. A closed closet can trap heat and noise.
How far can the chiller be from the tub?
Use the model-specific hose guidance. Greater distance, elevation changes and extra bends can affect flow and may require a different design.
Can I put the chiller on a rubber mat?
Possibly, if the mat is stable, does not block drainage or airflow and is approved by the manufacturer. Avoid soft foam that allows the unit to tilt.
Does the tub need a floor drain?
Not every system requires one, but every installation needs a controlled plan for routine draining and unexpected leaks.
Can I make the chiller quieter with an enclosure?
Do not enclose it without written manufacturer guidance. Reducing noise by restricting cooling air can impair performance or safety.
Bottom line
Choose the chiller location before ordering the system. The best spot is level, dry, ventilated, serviceable and acoustically considerate, with short protected hoses and a safe electrical and drainage plan.
Use the checklist with the exact manual, then explore PlungeChill cold-plunge chillers (paid link) to compare models that fit the space you can actually support. Affiliate disclosure: BeautyTech Hub may earn a commission if you buy through links in this article, at no extra cost to you. We do not claim independent testing of the products discussed.