Search "red light therapy mask before and after" and you will find two kinds of photos: dramatic side-by-sides that look too good to be true, and honest ones where the change is quiet. This guide is about the honest kind. Here is what a realistic at-home LED routine looks like week by week, how to take before-and-after photos you can actually trust, and when it makes sense to keep going or stop.
A note before we start: LED face masks are cosmetic devices. Any change is to the appearance of skin, it differs from person to person, and nothing below is a promise of a specific result.
What a red light mask is actually doing
The key point for before-and-after expectations: light-based routines are slow and cumulative. One session will not show anything. What you are looking for is a gradual change over weeks, which is exactly why careful photos matter.
Week by week: a realistic timeline
Week 1: build the habit
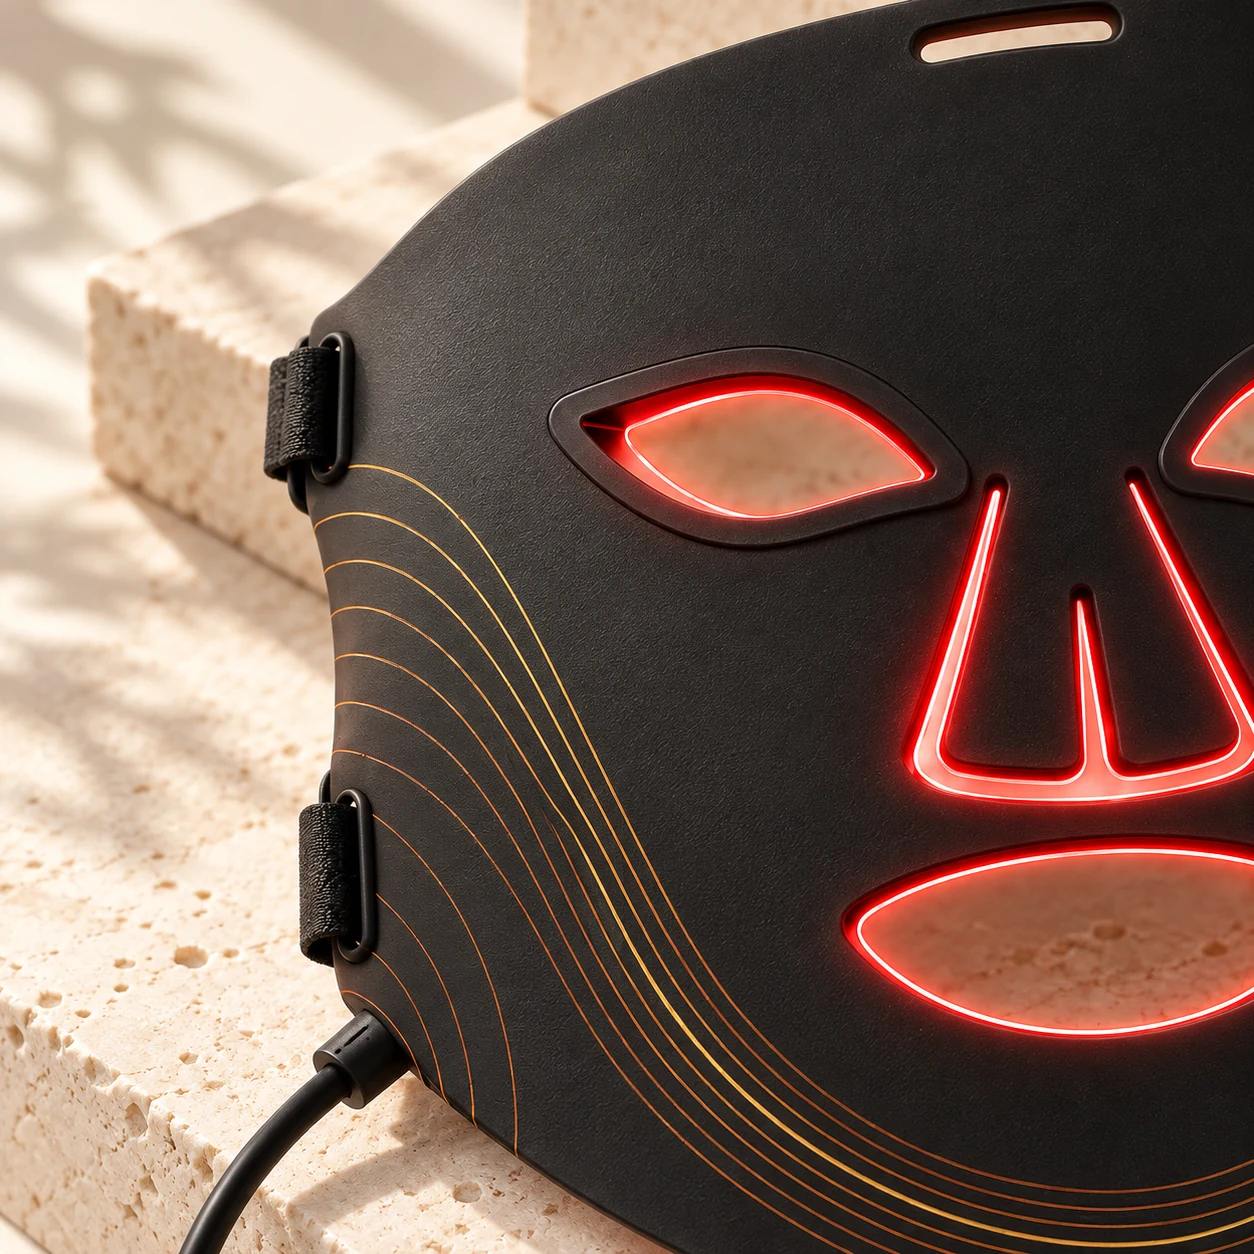
The first week is about routine, not results. Use the mask on clean, dry skin for the session length in the instructions (LumaMask 7 runs a 10-minute session), three to five evenings a week. Most people notice only that their skin feels comfortable and that ten minutes of lying still is surprisingly relaxing. That is normal. Take your "before" photos now (see the photo checklist below).
Weeks 2–4: stay consistent
This is where most people quit, because there is not much to see yet. Some users describe skin that looks a little more rested or even in tone, especially in morning light, but many notice nothing visible at this stage. Keep the schedule steady. Skipping a week and then doing sessions every day to "catch up" is not more effective; consistency is what counts. If you want to know how often is too often, read How often should you use an LED face mask?
Weeks 6–8: compare your photos
Around the two-month mark is a fair point to compare. Put your week-1 and week-8 photos side by side, taken the same way. Things people commonly look at:
- overall tone and how even the complexion looks;
- how bright or dull the skin looks in natural light;
- the look of fine lines around the eyes and mouth;
- texture on the cheeks and forehead.
Month 3 and beyond: maintenance
People who stay with LED long term usually settle into a maintenance rhythm of a few sessions a week. The appearance of skin keeps changing with age, season, sleep and skincare, so a mask is one part of a routine rather than a finish line.
How to take before-and-after photos you can trust
Most dramatic before-and-after photos online are not lying, exactly; they are just taken badly. A different angle, warmer light or a bit of makeup can make skin look completely different. To see what is really happening on your own face:
- Same light. Stand facing the same window at the same time of day. Avoid overhead bathroom lights and flash.
- Same angles. Front, left 45° and right 45°. Mark the spot you stand on.
- Bare skin. No makeup, no tinted SPF, no fresh serum shine. Photograph before your evening routine.
- Same camera settings. Use the rear camera if someone can help, turn off beauty filters and portrait mode.
- Every two weeks. More often than that and the changes are too small to notice; less often and you lose track.
What affects how much change you see
- Consistency. The single biggest factor. Three sessions every week beats seven sessions in one week and none the next.
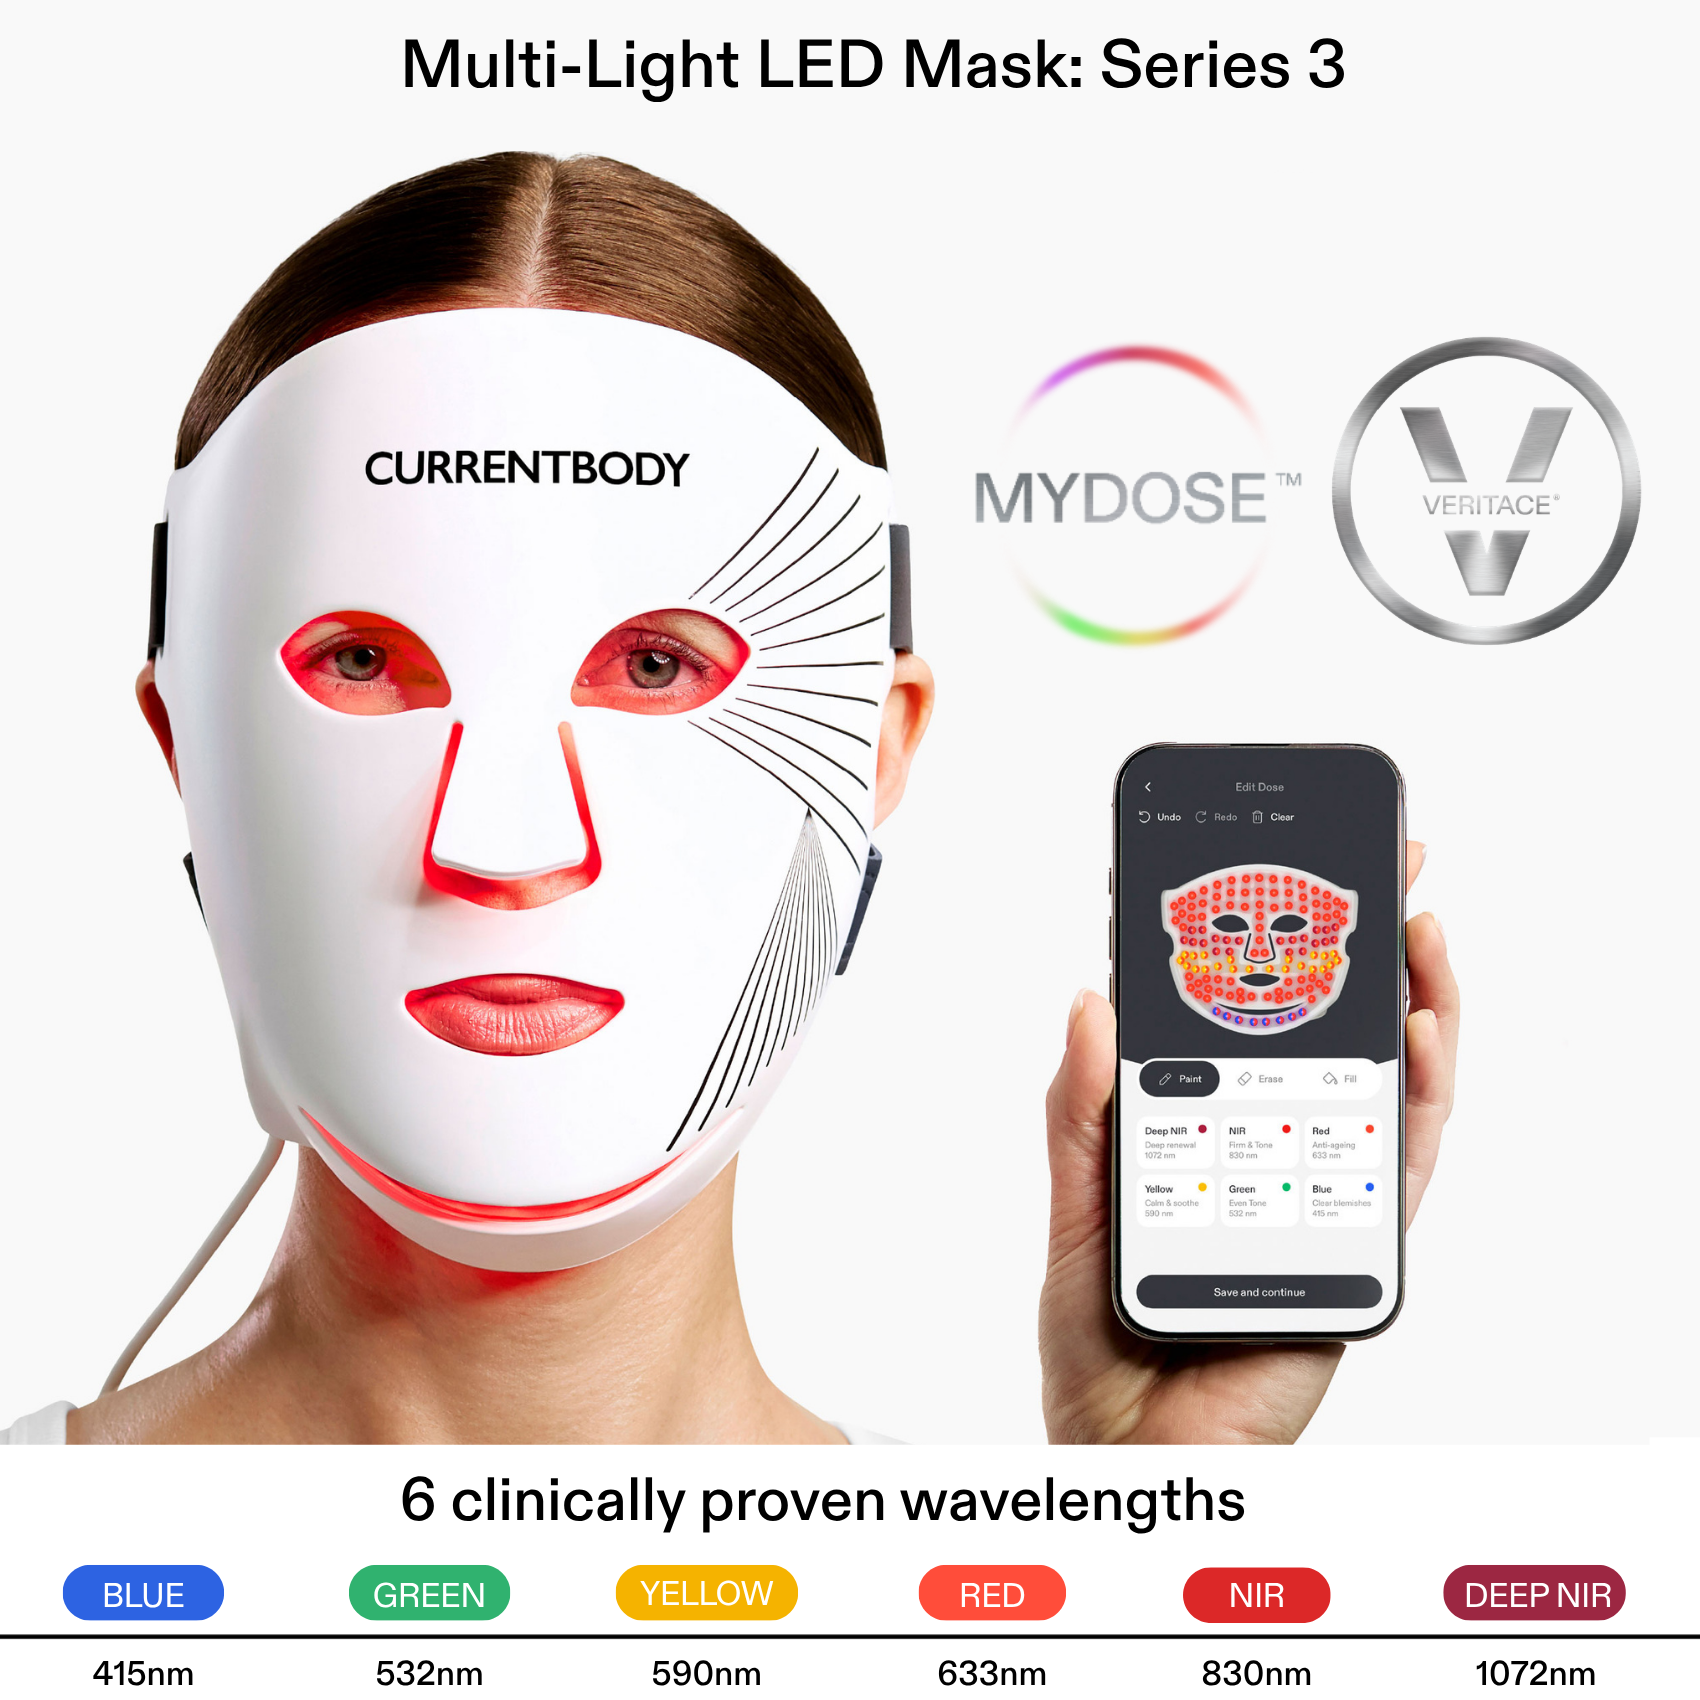
- Device specs. Wavelength and coverage matter. Look for a mask that publishes its exact wavelengths rather than just "red light". LumaMask 7 lists all seven, from 440 nm to 850 nm.
- Your skincare. Daily SPF and a simple routine make any change easier to see. Not sure where serums fit? See LED mask before or after serum?
- Lifestyle. Sleep, stress and sun exposure all show on the skin and can mask (or mimic) changes from any device.
- Realistic starting point. LED routines are about the overall look of skin. They are not a substitute for professional advice about a skin condition; if you have one, talk to a dermatologist before starting.
Red light mask before and after: quick answers
How long until I see results? Most people who notice a change describe it after several weeks of regular use, not days. Plan to evaluate at six to eight weeks.
Can I use it every day? Follow your device's instructions. For most at-home masks, three to five sessions a week is a typical routine.
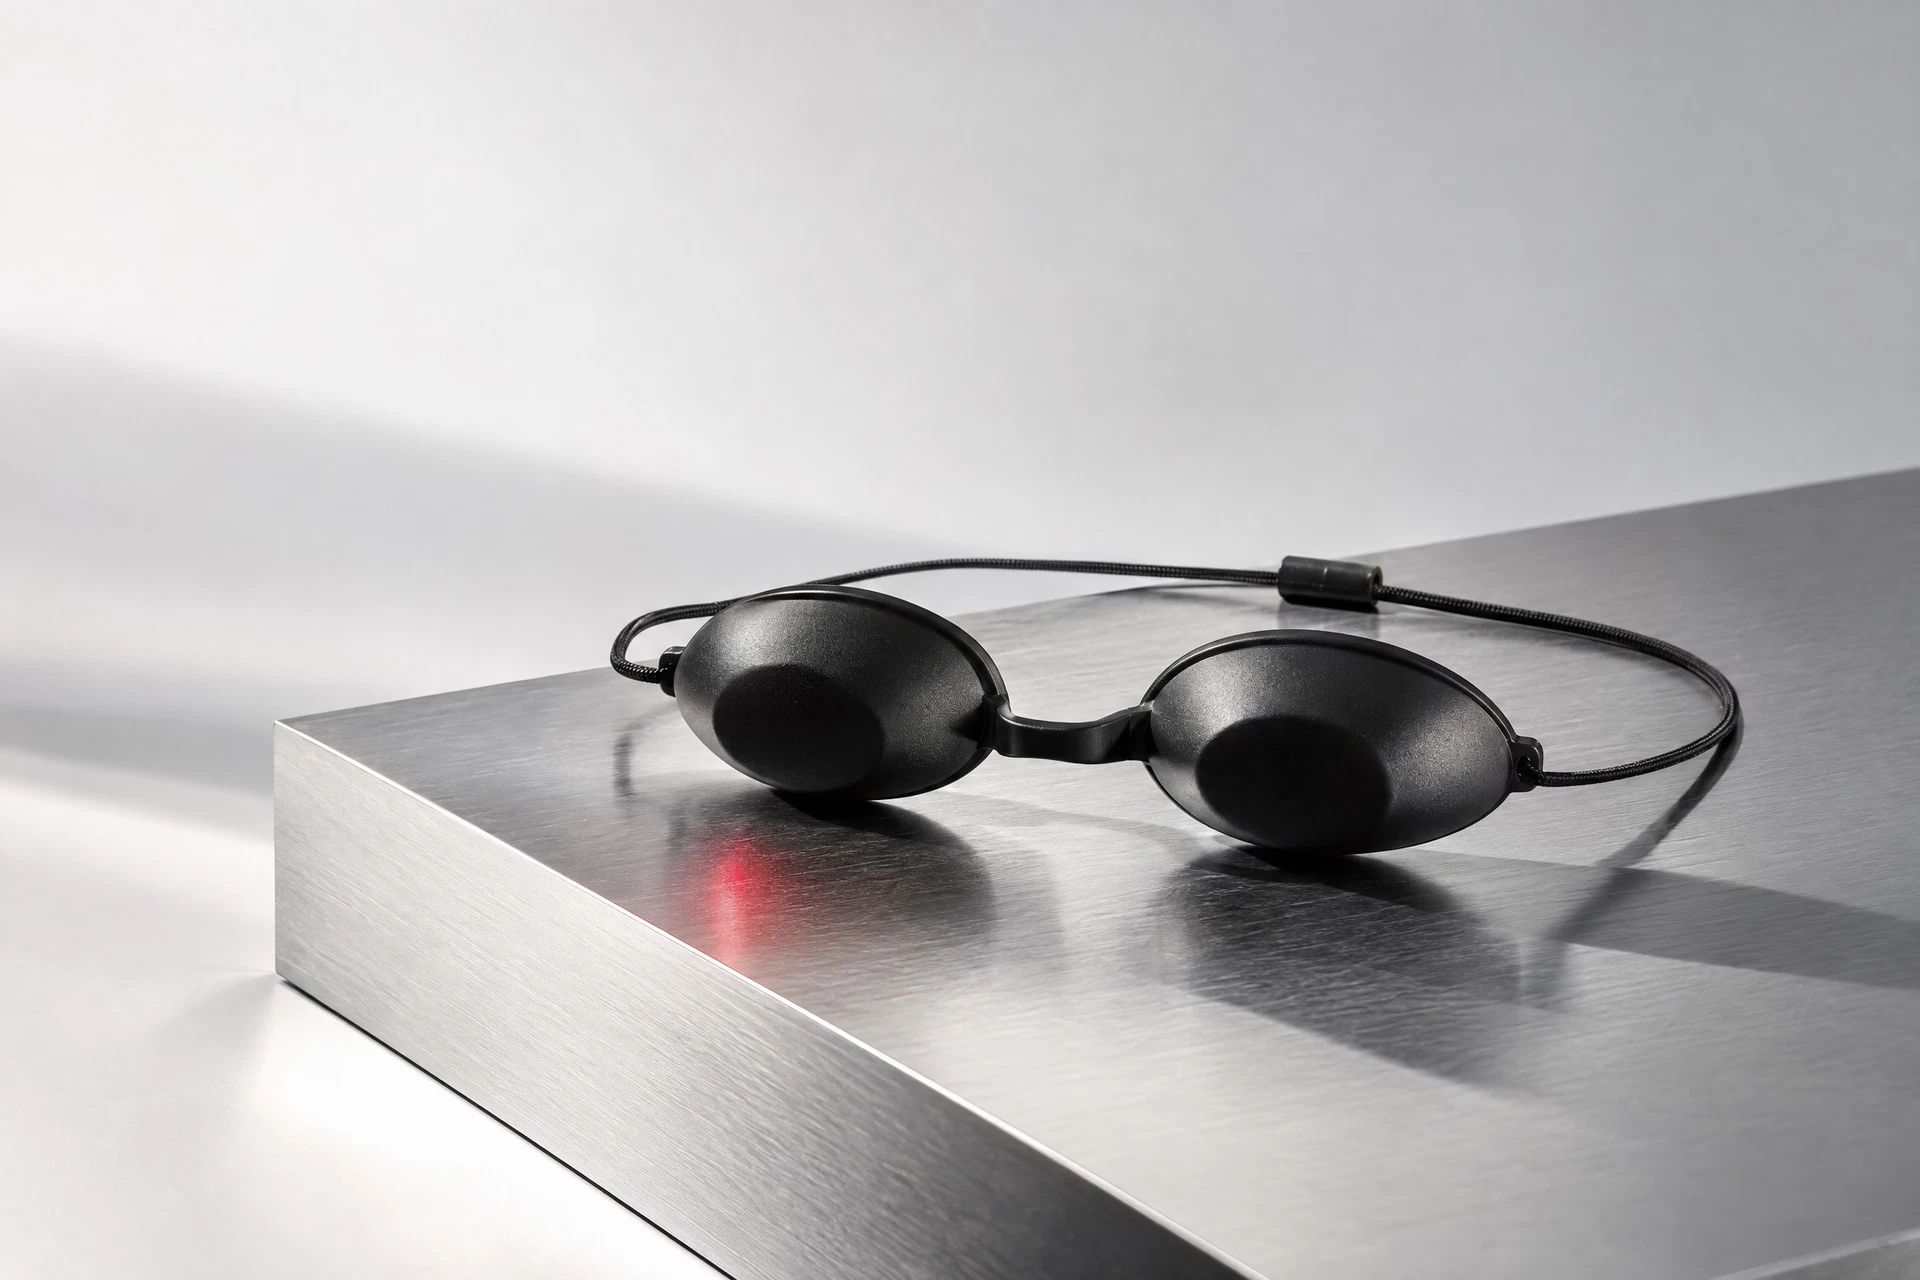
Do I need to wear eye protection? Bright LEDs close to the eyes can be uncomfortable. Keep your eyes closed during sessions and use any eye shields supplied with your mask.
What if I see no difference? Check that your photos are taken the same way each time. If they are and nothing has changed after eight consistent weeks, it may simply not be the right routine for your skin.
The bottom line
Honest before-and-after results from a red light therapy mask are gradual and personal. Give it six to eight consistent weeks, photograph carefully, and judge by your own photos rather than anyone else's. If you want a mask with every wavelength published and a 10-minute cordless routine, take a look at the BeautyTech LumaMask 7, or compare options in our LED face masks collection.