Quick answer: choose a cold plunge pump by the chiller’s required flow range after accounting for the filter, hose length, fittings and vertical lift—not by the pump’s maximum gallons-per-hour number alone. Use the chiller’s specified hose and port sizes, put the plumbing in the manufacturer’s required order, prime non-self-priming pumps and never let them run dry. If you prefer a matched tub-and-chiller package instead of designing the circulation loop yourself, compare PlungeChill’s current systems and setup requirements.
The circulation loop in plain English
A cold plunge needs continuous water movement so the chiller can exchange heat and the filter can capture debris. The pump is the heart of that loop. It pulls water from the tub, pushes it through restrictions and returns it after cooling. A powerful nameplate rating does not guarantee useful flow once a dirty filter, narrow hose, several elbows and a chiller heat exchanger are added.
Simplest matched loop
Tub outlet → filter → pump → chiller → tub inlet.
This is the order shown in PlungeChill’s external-pump setup guidance. The filter protects the pump and chiller from debris, while the pump supplies the chiller with moving water.
Open tub without plumbing ports
Submersible pump in tub → filter → external pump/chiller path → return hose.
Follow the system’s exact instructions. Some packages use a submersible feed pump for a bathtub-style vessel; others are designed for one correctly sized pump. Do not add a second pump unless the manufacturer specifies it.
What not to do
Do not reverse IN and OUT ports, reduce hose diameter without approval, dead-head a pump against closed valves, run a pump dry or place an air-cooled chiller in a sealed cabinet.
Start with the chiller’s required flow
The chiller manual should specify a permitted flow band, often in gallons per hour or gallons per minute. That requirement matters more than a generic “best pump” list. Too little flow can trigger a low-flow error, reduce cooling performance or allow the heat exchanger to operate outside its intended conditions. Excessive flow may create noise, leaks or performance outside the chiller’s design.
PlungeChill’s indoor setup guide notes that many small chillers use roughly 250–500 GPH as a general planning range, while stressing that the selected pump must meet the exact chiller requirement. Treat that figure as context—not a universal target.
Why the advertised pump number is not your delivered flow
A pump’s maximum rating is normally measured under favorable conditions. Real plumbing adds resistance. Flow falls when water must travel through a filter cartridge, narrow tubing, long hose runs, quick-connects, check valves, several tight bends or a vertical rise. Danner’s pump FAQ specifically warns that undersized tubing, numerous elbows or tees, and greater head height reduce flow.
Use the pump curve
A pump curve shows expected flow at different head heights. Estimate the vertical lift and plumbing resistance, then confirm the operating point still falls inside the chiller’s required range. If the manufacturer does not provide a curve or a compatible-pump list, ask before buying.
External vs submersible cold plunge pumps
External in-line pump
An external pump sits outside the tub and can be easier to service without reaching into the water. It can support a tidy filter-pump-chiller assembly, but many magnetic-drive pumps are not self-priming. Danner states that its Mag-Drive and Hy-Drive pumps must be submerged or initially primed and gravity-fed for in-line use.
Good fit: a tub with low outlet ports, reliable gravity feed and accessible equipment space.
Watch for: air leaks on the suction side, a pump mounted above the waterline, difficult priming and exposure to freezing weather.
Submersible pump
A submersible pump sits in the water, which simplifies priming and can work with a vessel that lacks factory ports. It adds a cord and equipment inside the tub area, and the exact electrical arrangement must be approved for the application.
Good fit: a simple open tub or a manufacturer-designed no-port setup.
Watch for: blocked intakes, low water level, placement that interferes with the user and any instruction prohibiting the chosen pump or sanitizer.
Hose size and fittings matter
Use the diameter and fitting types specified by the tub, pump and chiller. PlungeChill’s published 1 HP setup uses a mix of 3/4-inch and 1/2-inch connections in the provided hose set; that does not mean every system should be reduced to the same dimensions. A smaller-than-approved hose increases restriction and can make a nominally strong pump deliver inadequate flow.
- Keep suction-side runs short and direct.
- Use gentle bends rather than kinked hose.
- Support hoses so their weight does not pull on plastic ports.
- Match NPT, barb and quick-connect sizes correctly; do not force incompatible threads.
- Use only sealants or tape recommended for the fitting type.
- Add unions or shutoff valves only where the manufacturer allows them and where they improve service access.
Before adding aftermarket parts, check whether they change the warranty. A convenient fitting that reduces the internal diameter can become the narrowest point in the loop.
Filter placement and maintenance
The filter should capture hair and debris before those contaminants reach sensitive pump and chiller passages when the manufacturer’s layout calls for it. But every filter also creates resistance, and that resistance rises as the cartridge loads with debris.
Choose a filter housing rated for the system’s pressure and flow. Make sure the cartridge is compatible with the planned water-care method. Keep enough room above or around the housing to release air, remove the lid and change the cartridge without dismantling the entire loop.
Signs the filter is restricting flow
- Return flow is visibly weaker than usual.
- The chiller displays a low-flow or circulation error.
- Air remains trapped after startup.
- The pump becomes noisier or warmer.
- Cooling time increases while ambient conditions are similar.
PlungeChill’s troubleshooting guide lists a clogged filter cartridge, trapped air, bent pipe and debris in the pump/filter as common causes of weak circulation. Clean or replace the cartridge on the schedule appropriate to your water load—there is no honest universal interval for every household.
Priming: the step that prevents many failures
A non-self-priming external pump needs water in its chamber and a flooded suction line before operation. Open the tub valves, fill the filter housing as directed and use the air-release valve until trapped air is expelled. Confirm the pump is receiving water before switching it on.
Danner warns that running a water-lubricated magnetic-drive pump dry can overheat and seize it. If the pump sound changes sharply or flow disappears, turn the system off and troubleshoot; do not let it continue while hoping it will prime itself.
How to diagnose low flow
1. Verify water level and open valves
A low water line can expose a submersible pump or interrupt gravity feed. Confirm every intended valve is fully open.
2. Check flow direction
Read the arrows and port labels. Reversed pump, filter or chiller connections are a common setup error.
3. Release trapped air
Use the filter air valve or the manufacturer’s priming procedure. Inspect suction-side fittings for air leaks.
4. Inspect the easy restrictions
Straighten kinked hose, clean the intake, remove visible debris and inspect the cartridge.
5. Reassess pump sizing
If the clean, correctly plumbed system still misses the specified range, compare the pump curve with the actual head and restrictions. Do not simply install the strongest pump available.
Cooling performance is not only a pump problem
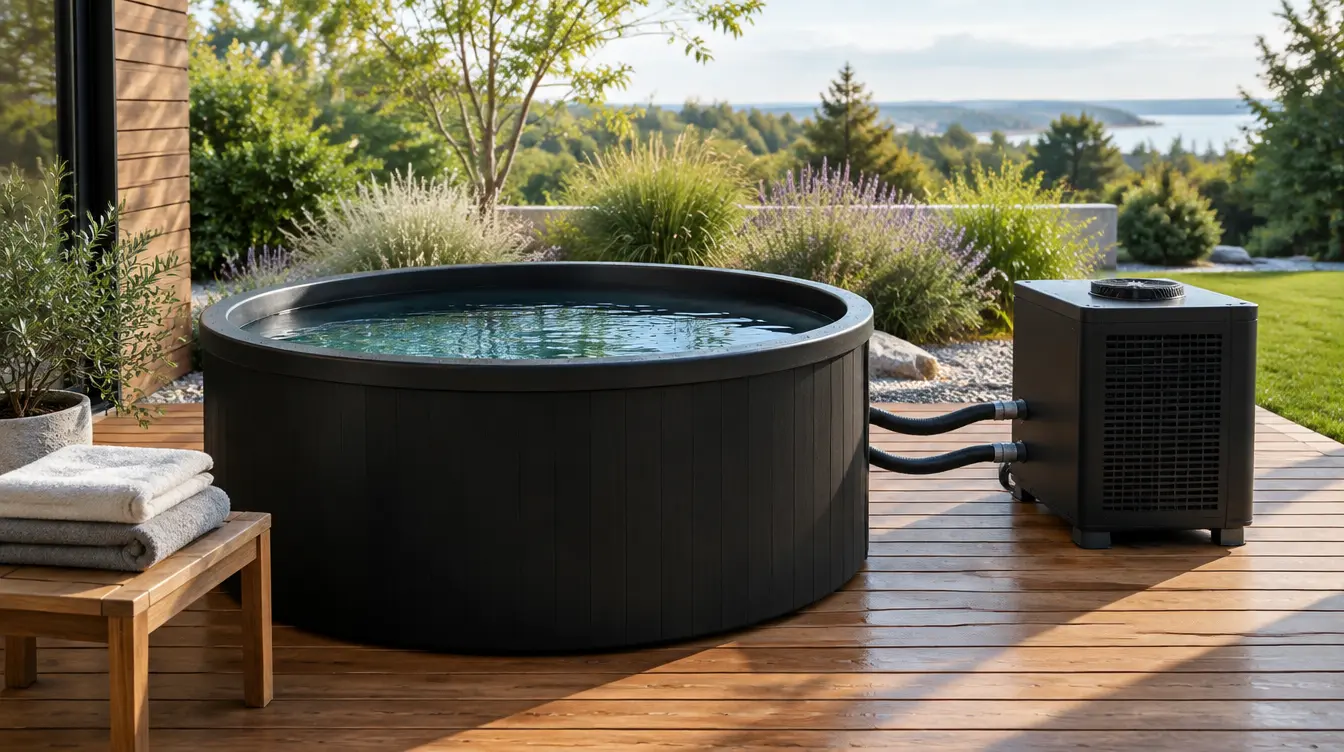
Weak circulation can slow cooling, but so can high ambient temperature, an uninsulated vessel, a missing lid, excess water volume or poor airflow around the chiller. PlungeChill tells users to place the chiller on an open, flat surface rather than in a closed cabinet and to check circulation when water will not cool.
Use our cold plunge temperature guide to set a conservative target and understand why colder is not automatically better. For a fully matched purchase, see the cold plunge tubs with chillers buyer guide.
When a complete system is worth it
A DIY loop can be attractive when you already own a suitable tub and can follow plumbing, electrical and water-care instructions. A matched system is often easier when you want known port sizes, a compatible pump/filter/chiller combination, consolidated support and fewer adapters.
Before buying, ask the merchant for the required flow range, pump curve, hose inside diameter, connector types, maximum water volume, ambient operating limits, filtration details and winterization procedure. Review PlungeChill’s current configurations and compare the included circulation parts with your tub rather than assuming every bundle fits every vessel.
How we built this guide
We used current manufacturer installation and troubleshooting instructions plus pump-manufacturer guidance on priming, head height and restrictions. We did not assign a universal GPH target or invent performance for an untested combination. Your specific chiller manual and electrical requirements control the final build.
Buying checklist
- Chiller minimum and maximum flow
- Pump curve at your estimated head
- External or submersible installation
- Self-priming status and startup procedure
- Approved hose inside diameter
- Exact port threads and adapters
- Filter flow/pressure rating and cartridge type
- Service space for cartridge and pump access
- Open ventilation around an air-cooled chiller
- GFCI and electrical instructions for the selected equipment
- Freeze protection or winterization plan
- Warranty effect of third-party plumbing changes
Frequently asked questions
How many GPH should a cold plunge pump be?
There is no single correct number. Match the chiller’s specified flow after losses from the filter, hose, fittings and lift. Many small chillers use a few hundred GPH, but the exact manual controls.
Can a pump be too strong?
Yes. Excessive delivered flow may exceed the chiller or filter rating, increase noise and stress connections. Size from the permitted flow band and pump curve.
Should the pump go before or after the filter?
Follow the system diagram. PlungeChill’s external setup routes tub water through the filter before the pump and chiller. Other engineered systems may differ.
Why is my pump running but no water is moving?
Common causes include lost prime, trapped air, low water level, reversed connections, a closed valve, clogged cartridge, blocked intake or a damaged impeller. Turn the system off before inspection.
Can I use garden hose?
Only if the manufacturer approves the hose material, diameter, pressure rating and fittings. Ordinary hose can kink, add restriction or use unsuitable connectors.
How often should I run the pump?
Follow the sanitation and chiller instructions. Runtime depends on water volume, use, filter and temperature strategy. Do not invent a universal schedule from another system.
Final take
A reliable cold plunge loop is a compatibility exercise: chiller flow first, pump curve second, then hose, filter and fittings. Keep the route short, accessible and correctly primed. If a matched package is the safer choice for your setup, compare PlungeChill systems and confirm every included connection before ordering.
Affiliate disclosure: BeautyTech Hub may earn a commission if you buy through qualifying links in this article, at no extra cost to you. We independently select topics and do not claim personal testing where none was performed.