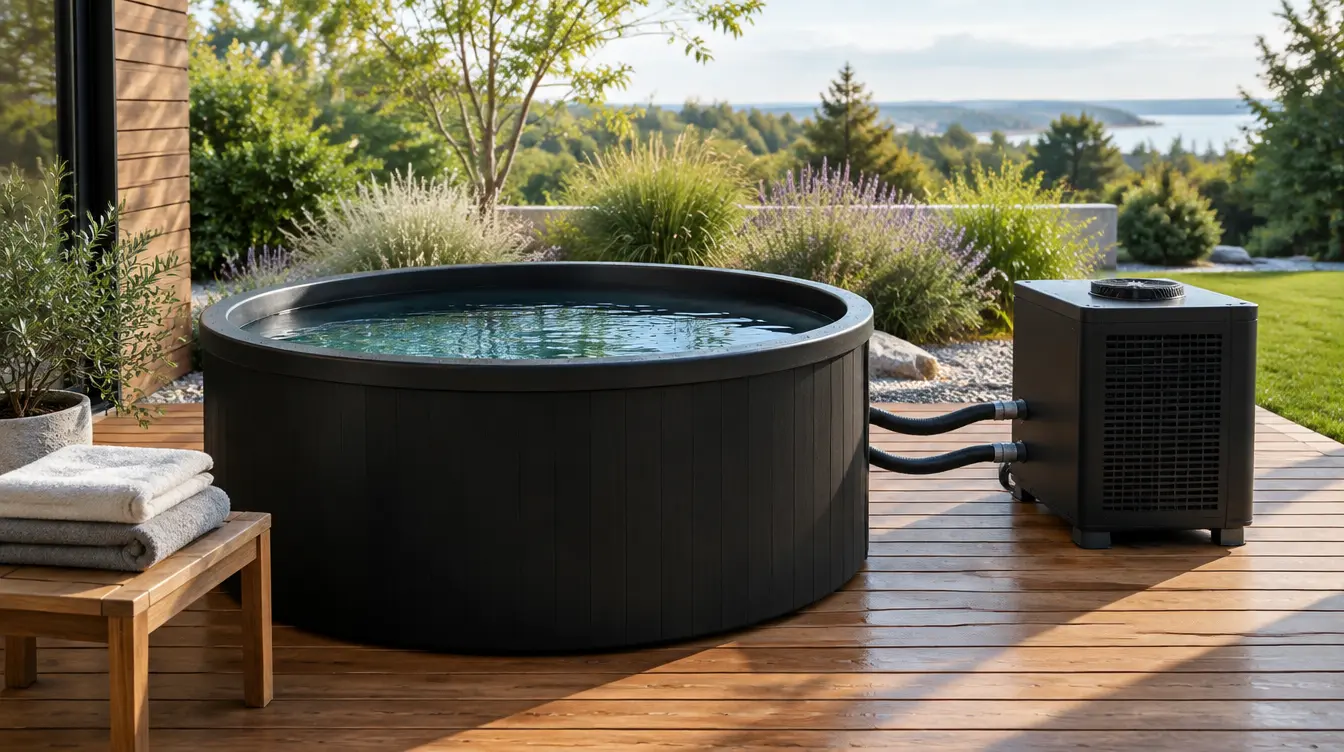
Quick answer: A 1/3 HP cold-plunge chiller is the sensible starting point for a small, insulated single-user tub when you can cool gradually and mostly maintain temperature. A 1 HP chiller is the better fit for a larger tub, hot outdoor conditions, frequent lid openings or faster recovery between users. Horsepower is only a shorthand: compare tested cooling capacity at your target water temperature, flow requirement, ambient limit, pump, insulation and electrical load. See PlungeChill’s current chiller range after measuring your actual tub and site.
1/3 HP vs 1 HP: the practical difference
Choose 1/3 HP when…
- Your tub is small, covered and well insulated.
- You can allow a long initial pull-down and then leave the system maintaining temperature.
- The setup is shaded or indoors with adequate ventilation.
- Lower purchase price, compact size and easier handling matter more than fast recovery.
Choose 1 HP when…
- The tub is roughly 90–150 gallons, subject to the exact manufacturer’s rating.
- Summer heat, direct sun or long warm hose runs add load.
- Several users enter in sequence and the water must recover faster.
- You want a lower set point and the manufacturer publishes performance near that temperature.
Why horsepower alone can mislead
Compressor horsepower is not the same as cooling capacity delivered to the water. Two “1 HP” products can use different compressors, condensers, heat exchangers, pumps and controls. Their performance changes with ambient temperature and target water temperature. A seller should provide a tested starting volume, starting temperature, target temperature and elapsed time—or a cooling-capacity curve—not merely a horsepower badge.
The same principle applies at 1/3 HP. A small unit can maintain a cold, covered tub efficiently after the initial cool-down, yet struggle if asked to pull a large sun-warmed reservoir down by 35°F every afternoon. Bigger is not automatically better either: an oversized system costs more, occupies more space and can cycle differently. Proper flow and minimum run-time controls still matter.
A real-world published example
PlungeChill’s current 1/3 HP product page lists a 600W unit, a built-in circulation pump and mesh filter, dimensions of 14.9 × 11.8 × 12.6 inches, and 35-pound weight. The brand’s test example states approximately 66 gallons cooled from 75°F to 50°F in 8–10 hours and to 45°F in 12–14 hours. It also says best performance is with tubs at or below 120 gallons. Treat those as manufacturer test claims under stated conditions, not a promise for every climate.
The current PlungeChill 1 HP page lists 2,600W maximum cooling power, 16.5 × 13.8 × 18.9-inch dimensions, 73-pound weight and a brand test of up to 110 gallons from 80°F to 40°F in about eight hours. The page recommends about 10–12 inches of air clearance. That is a materially larger appliance with a higher heat-rejection and electrical-planning burden. Compare the current 1/3 HP and 1 HP specifications before choosing a bundle.
Step 1: calculate the real water volume
Use the manufacturer’s usable fill volume, not the shell’s maximum geometric volume. If you are adapting a stock tank, estimate gallons from internal dimensions and subtract displaced volume for the bather and the freeboard below the rim. A “100-gallon” tub may be operated at significantly less than 100 gallons.
Volume affects initial pull-down time, but it is only one part of the load. Surface area, insulation, cover quality, hose exposure and ambient conditions can dominate daily maintenance. A shallow wide tub can gain heat faster than a compact insulated barrel holding a similar volume.
Step 2: define the temperature job
Write down three numbers: typical starting water temperature, desired set point and time allowed to reach it. Cooling from 75°F to 50°F overnight is a different assignment from cooling 90°F outdoor water to 45°F in four hours. If the product page does not publish performance close to your target, ask the seller for a written estimate based on gallons, ambient high, shade, insulation and planned schedule.
For routine planning, see our cold plunge temperature guide. Colder is not automatically better, and an aggressive set point can increase cooling load while narrowing the margin for safe use.
Step 3: account for climate and heat gain
An air-cooled chiller rejects heat into the surrounding air. As ambient temperature rises, the condenser has less temperature difference available and performance can decline. Eaton’s recirculating-chiller selection guidance identifies heat load, fluid temperature, flow and ambient conditions as core inputs. Cold-plunge-specific conditions add solar gain, warm decking, exposed hoses and a person entering the water.
- Direct sun: adds radiant heat to the tub, cover and plumbing.
- Warm air: reduces the chiller’s heat-rejection advantage.
- Uninsulated hoses: collect heat between the tub and chiller.
- No cover: increases heat gain, debris and operating time.
- Frequent users: add body heat and repeated lid opening.
A well-fitted insulated cover can be a better first upgrade than jumping one horsepower class. Our cold plunge cover and insulation guide explains what to measure.
Step 4: match flow, pump and plumbing
Cooling capacity means little without stable water flow. The chiller’s required gallons per minute must overlap the pump’s delivered flow after hose length, elevation, fittings and filter pressure loss. Too little flow may cause alarms, icing risk or poor heat exchange; excessive pressure can exceed component limits.
Confirm port size, hose inside diameter, included adapters, maximum head, filter placement, priming procedure and whether the pump is built in. Do not assume a nominal 1/2-inch thread means every hose kit seals correctly. For a full circulation map, use our cold plunge pump and filter guide.
Step 5: plan electrical service and airflow
Use the exact nameplate and manual. Do not infer amperage from horsepower. Check voltage, running current, startup current, plug type, dedicated-circuit recommendation, GFCI requirements and whether the listed product is approved for the intended environment. Outdoor placement does not mean the appliance can sit in rain or pooled water.
Leave the manufacturer’s clearance around air inlets and exhaust. A deck box or cabinet can recirculate hot exhaust and make a large chiller behave like an undersized one. If you need weather protection, use a ventilated enclosure designed around the actual airflow path and service access. Check the current PlungeChill installation requirements rather than copying a generic enclosure photo.
1/3 HP: strengths and limits
Strengths: lower cost, smaller footprint, lighter handling and adequate maintenance duty for many small insulated tubs. A 1/3 HP unit can make sense for one user who keeps the cover on, schedules the initial cool-down and does not demand rapid recovery.
Limits: slower pull-down, less margin in hot weather and more sensitivity to poor insulation or long hoses. If a seller advertises compatibility “up to” a large gallon figure, ask what ambient temperature, starting water temperature, set point and time produced that result.
1 HP: strengths and limits
Strengths: more cooling margin, faster pull-down potential and better fit for larger or frequently used tubs. It is easier to maintain temperature when several people use the system or the installation faces high summer load.
Limits: higher cost, greater weight, more heat rejected into the room and potentially greater electrical demand. A 1 HP model still fails if airflow is blocked, water flow is wrong or the tub loses heat through an uncovered, uninsulated shell.
Quick sizing scenarios
60–70 gallon insulated indoor tub
A documented 1/3 HP system may be sufficient when the room is moderate, the cover stays on and overnight pull-down is acceptable. Verify minimum target temperature and flow.
100–120 gallon shaded outdoor tub
This is the overlap zone. A 1/3 HP unit may maintain temperature slowly under favorable conditions; 1 HP provides more recovery margin. Ask for performance at your summer ambient high rather than relying on gallon capacity alone.
120–150 gallon tub in hot sun
Start with a properly documented 1 HP option and strong insulation, but do not assume the label guarantees performance. Shade the tub and hoses, preserve condenser airflow and request a written sizing recommendation.
Multiple users or a small studio
Usage load and sanitation requirements may push the system beyond residential assumptions. Ask for commercial-duty guidance, turnover, filtration, local health-code obligations and warranty coverage.
When a 1/2 HP middle option makes more sense
A 1/2 HP model can be the rational middle ground when a 1/3 HP unit lacks summer margin but a 1 HP appliance adds more cost, weight and electrical load than the site needs. Apply the same test: require a published pull-down example, cooling capacity near the target temperature, flow range and ambient limit. Do not assume “halfway in horsepower” means halfway in delivered cooling, price or energy use. Compare the exact performance curves and package components.
Buying checklist
- Usable gallons at the normal fill line.
- Starting temperature, target temperature and allowed pull-down time.
- Maximum summer ambient temperature and sun exposure.
- Tub, cover and hose insulation.
- Published cooling test or capacity curve near the target temperature.
- Required flow range, pump curve, ports, hoses and filter pressure loss.
- Voltage, running and startup current, plug, GFCI and circuit requirements.
- Air-clearance, drainage, condensation and weather-protection plan.
- Filter cost, cleaning interval, refrigerant service and parts availability.
- Residential versus commercial warranty terms.
Frequently asked questions
Will a 1/3 HP chiller cool 100 gallons?
Possibly, but gallon capacity alone cannot answer. Insulation, ambient heat, target temperature, starting temperature, flow and allowed time determine whether the result is practical. Get a written estimate for your conditions.
Is 1 HP too powerful for a home plunge?
Not necessarily. It can be appropriate for a larger or outdoor tub, but the site must support its electrical load, airflow, noise, weight and heat rejection. Oversizing without matching flow and controls is not automatically beneficial.
Should the chiller run all day?
Follow the exact controller and manual. Many systems maintain a set point automatically, but pump and sanitation schedules vary. Do not defeat safety controls or put the unit on an incompatible external timer.
Does a larger chiller use more electricity?
It usually has a higher instantaneous load, but total energy depends on run time and heat gain. Compare measured kWh over similar conditions rather than multiplying rated watts by 24 hours.
Can the chiller stay outside?
Only if the exact unit and installation method permit it. “Outdoor tub compatible” does not necessarily mean the chiller enclosure is rainproof. Follow weather, clearance and electrical instructions.
Do I still need ice?
A properly sized chiller is intended to reach and maintain its documented range without routine ice, but initial conditions and extreme heat may extend cool-down. Do not add ice in a way that exceeds the safe fill line or blocks circulation.
Bottom line
Buy 1/3 HP for a small, insulated, covered system when patience and maintenance duty are acceptable. Buy 1 HP when the tub is larger, the climate is hotter or fast recovery matters. The winning specification is verified cooling performance under your conditions—not horsepower alone. Compare PlungeChill’s current chiller models, then save the exact product page and manual with your site measurements before ordering.
Affiliate disclosure: BeautyTech Hub may earn a commission from qualifying purchases made through sponsored links, at no extra cost to you. We did not physically test these chillers. Performance figures attributed to a brand are manufacturer-published examples, not guarantees for every tub or climate.