Quick answer: A DIY cold plunge chiller can save money when you already have a suitable tub and are comfortable assembling a circulation loop. The project still needs five coordinated parts: a water-safe container, pump, filter, chiller, and correctly sized hoses/fittings. If you want fewer compatibility decisions, a ready-made chiller with an integrated pump and filter—such as the current PlungeChill chiller system—may be the better value even when the sticker price is higher.
DIY chiller vs ready-made system
| Decision | DIY component system | Integrated chiller system |
|---|---|---|
| Upfront control | Choose each component and reuse an existing tub | Buy a coordinated package |
| Compatibility work | You match flow, fittings, filter and hoses | Core components are designed to work together |
| Installation time | More measuring, adapters, leak testing and troubleshooting | Usually fewer connections; still requires setup |
| Service | Separate warranties and vendors | One primary vendor for the packaged unit |
| Customization | High | Moderate |
| Best for | Hands-on buyers with a specific tub and accessible plumbing | Buyers prioritizing repeatable setup and support |
The five parts of a workable DIY system
1. A tub that can handle the filled load
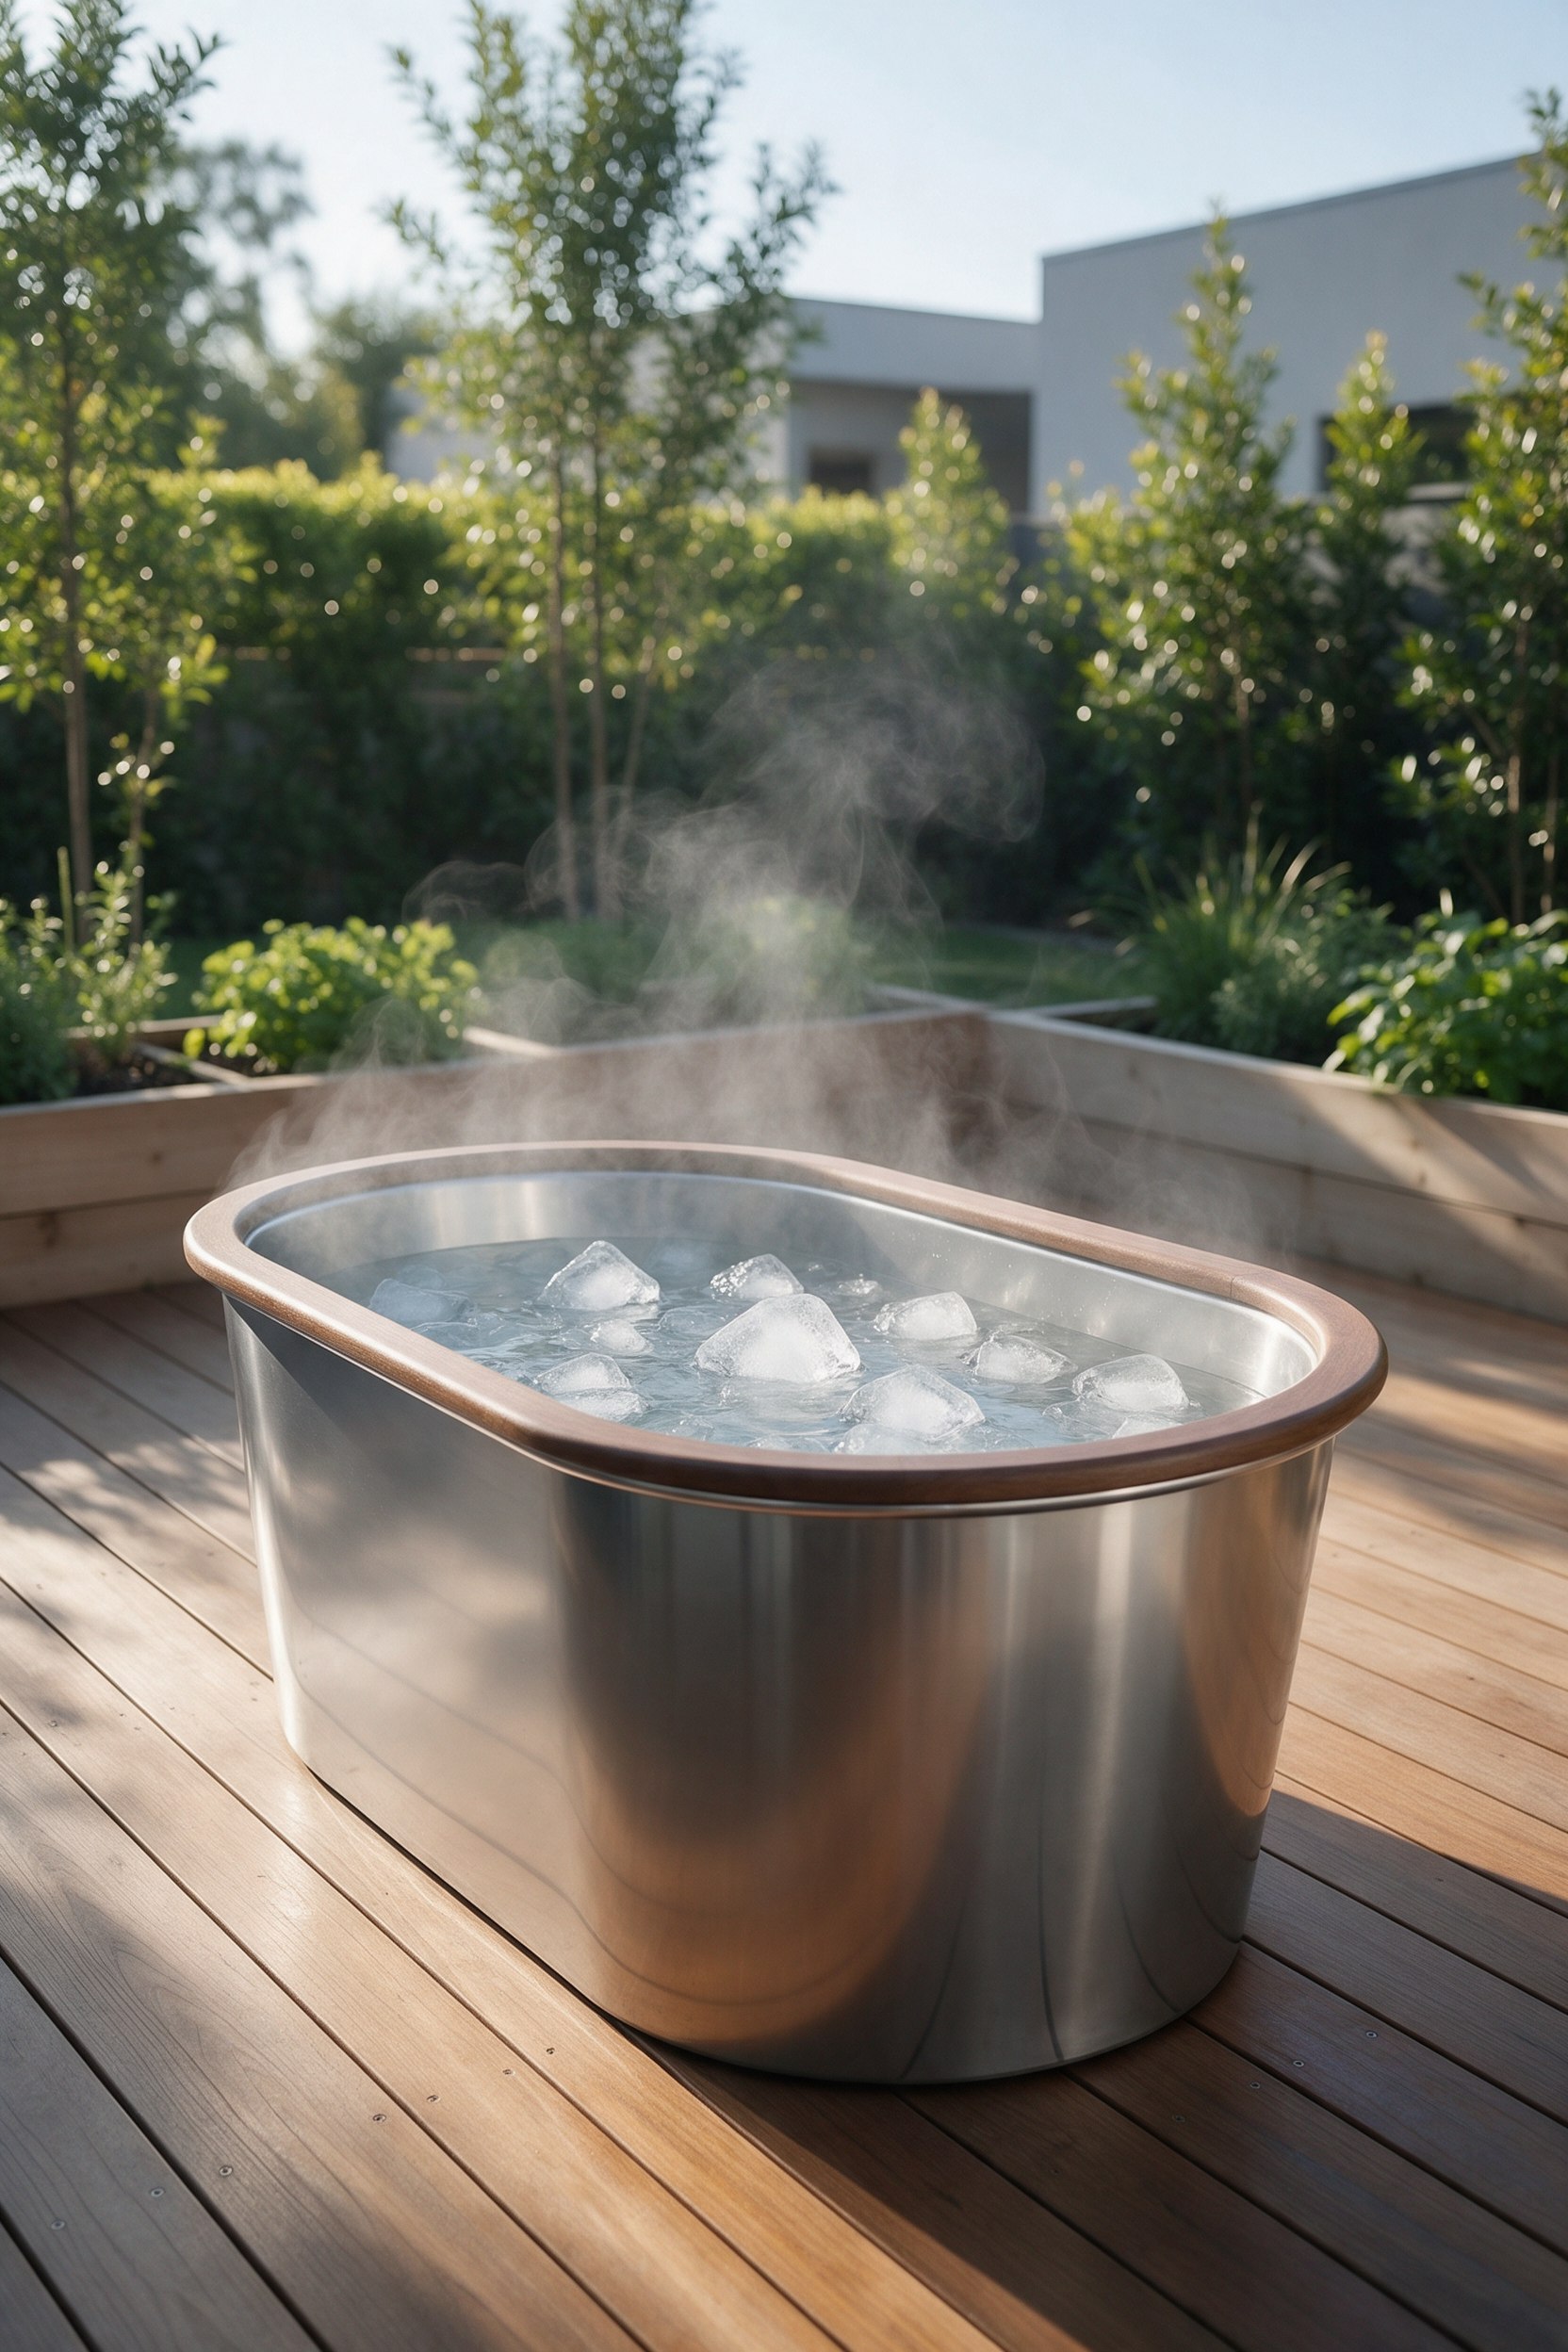
Water weighs about 8.34 pounds per US gallon before adding the user, tub and equipment. That makes floor capacity, a level base and drainage part of the purchase decision. A stock tank is simple and rigid; an inflatable tub is portable but may lose heat faster; an insulated vessel reduces the cooling load. Our inflatable cold plunge guide explains shape, portability and filled-load tradeoffs.
2. A circulation pump
The pump must deliver enough real flow through the complete loop. Advertised open-flow numbers fall when water passes through hose, bends, a filter and the chiller’s heat exchanger. Too little flow may trigger a chiller fault or reduce performance; excessive flow can exceed a component’s specification. Use the chiller manual’s required flow range, not a generic online rule.
3. Filtration
A filter captures hair and debris before they reach the heat exchanger. Choose a housing and cartridge that fit the intended flow and are easy to service. Put shutoff or isolation points where the system can be drained without emptying the entire tub. For more plumbing detail, see our cold plunge pump and filter guide.
4. A chiller sized for the actual heat load
Tub volume is only one input. Ambient temperature, sun exposure, insulation, target temperature, lid use and desired pull-down time all matter. A smaller chiller may maintain an insulated indoor tub but struggle to cool an uninsulated outdoor tank on a hot afternoon. Our 1/3 HP vs 1 HP comparison covers those tradeoffs.
5. Hoses, fittings and leak management
Confirm every port diameter before buying adapters. Minimize restrictive bends, support the hose so it cannot kink, and use clamps or threaded seals specified for the connection. Build the loop where a small leak is visible and containable. Never place extension-cord connections or non-water-rated electrical equipment where splash or runoff can reach them.
A practical flow path
A common arrangement is tub outlet or submerged pump → debris filter → chiller inlet → chiller outlet → tub return. The exact order and pump placement must follow the manuals for the selected pump, filter and chiller. Prime the system before starting equipment that requires water flow. After assembly, run it at a moderate temperature setting and inspect every joint before lowering the target.
- Measure the tub ports and the planned hose run.
- Confirm chiller flow range, hose size, power requirement and environmental limits.
- Place components on a stable, ventilated surface with service clearance.
- Connect the loop and fill or prime it according to the manuals.
- Leak-test while watching the filter housing, adapters and hose clamps.
- Verify steady return flow before enabling cooling.
- Record the starting temperature and time to target under real conditions.
If you prefer a packaged loop, compare PlungeChill’s current chiller configuration; its product information states that the standard chiller combines a compressor with pump and filtration. Verify the exact version, included parts and operating requirements on the current product page before purchase.
Where DIY projects go wrong
Buying by horsepower alone
Horsepower does not describe the whole system. Heat-exchanger design, ambient limits, flow requirements and insulation can change real performance. Compare the complete operating envelope.
Ignoring head loss
A pump that looks adequate on its box may deliver much less after narrow fittings, extra hose and a loaded filter. Keep the loop short and service the filter before assuming the chiller is faulty.
Running without a lid
A fitted cover reduces heat gain and debris. In hot or sunny locations, insulation and shading can be more cost-effective than upsizing equipment.
Mixing incompatible sanitation methods
Follow the tub, filter and chiller makers’ water-care guidance. Materials, seals and coatings may not tolerate every sanitizer. Never mix pool chemicals, and keep them away from children and pets.
Putting the chiller in a sealed box
Refrigeration equipment rejects heat. An enclosure that recirculates hot exhaust can reduce performance or trigger shutdowns. Respect the manufacturer’s ventilation and weather-exposure instructions.
DIY cost checklist
Do not compare only the chiller price. Add the tub, pump, filter housing and cartridges, hoses, adapters, clamps, insulation, cover, thermometer, drainage supplies and any safe electrical work. Include replacement filters and cleaning time in ownership cost. For the electricity calculation, our cold plunge running-cost guide shows how to turn watts and runtime into a local estimate.
If your parts total approaches a coordinated package, compare the current PlungeChill bundle before buying the final adapters; one-vendor support may be worth more than the remaining DIY savings.
- Good DIY candidate: you already own a rigid or insulated tub, can access all connections, and accept maintenance.
- Poor DIY candidate: the setup must live on a finished indoor floor without drainage, you cannot verify electrical safety, or downtime would make the system useless.
- Middle path: use an existing tub with an integrated chiller/pump/filter package. See the current PlungeChill package for one example.
Safety and water hygiene
Cold-water immersion can create rapid breathing, blood-pressure and heart-rate changes. Start conservatively, avoid plunging alone, and discuss use with a clinician if you have cardiovascular disease, uncontrolled blood pressure, pregnancy or another condition affected by cold. Exit immediately for chest pain, severe shortness of breath, confusion or loss of coordination.
For the equipment, use the exact power instructions and a properly installed GFCI-protected supply where required. Keep plugs and controls dry. Do not improvise internal modifications to a chest freezer or chiller. If the project requires opening electrical or refrigeration components, it is no longer a basic hose-and-pump DIY job.
How to choose between DIY and packaged
Choose DIY when:
- You want to reuse a specific tub.
- You can match component specifications and troubleshoot flow.
- You have a safe, drainable location.
- You value customization over one-vendor support.
Choose integrated when:
- You want fewer compatibility decisions.
- You prefer one support contact.
- You plan to plunge frequently and value reduced setup time.
- You want a documented included-parts list.
For the second route, check PlungeChill’s current system details and compare them against your tub volume, climate, hose connection and target temperature. A product page is not a guarantee of performance in every environment.
FAQ
Can I use a regular bathtub with a chiller?
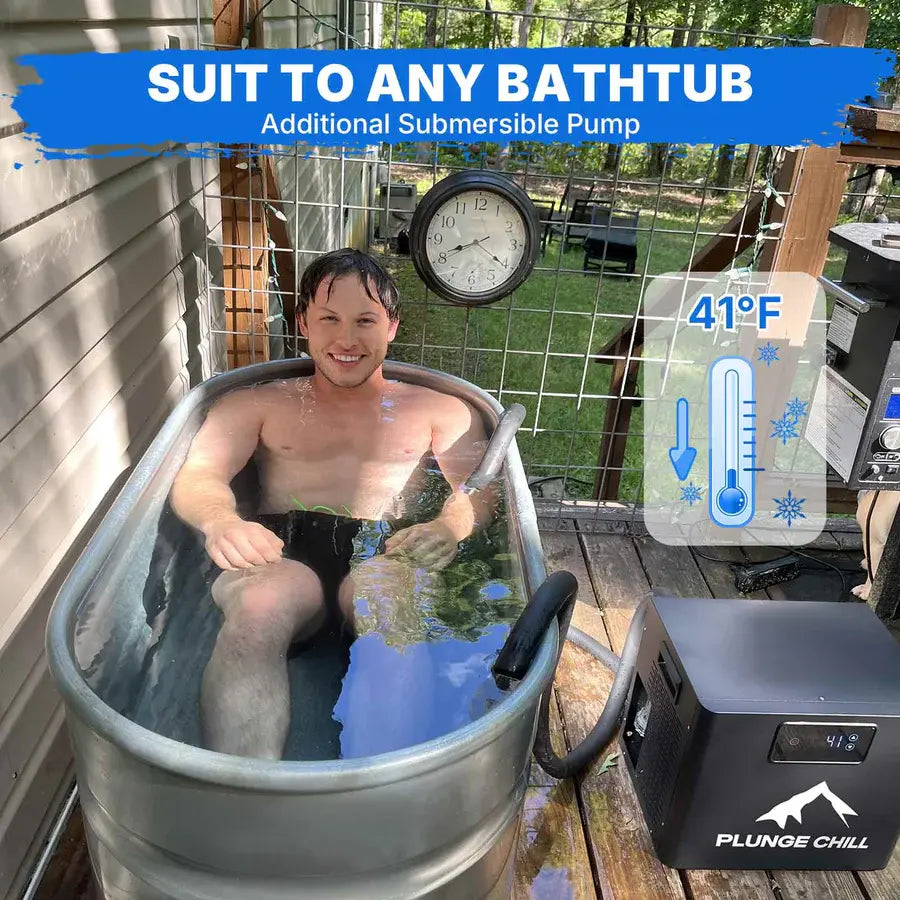
Some external systems can circulate from a bathtub using a submersible pump, but you must verify hose routing, drainage, safe electrical placement and whether the bathroom can handle splashing and condensation.
What size pump do I need?
Use the chiller’s required flow range after accounting for the full loop. An open-flow rating alone is not enough.
Should the pump go before or after the filter?
Follow the component manuals. Many loops send pumped water through the filter before the chiller to protect the heat exchanger, but pump type and priming requirements can change the correct layout.
Can a DIY system stay outdoors?
Only when every component is suitable for the exposure and protected according to its manual. Rain, freezing temperatures, direct sun and restricted ventilation can damage equipment.
Is a DIY cold plunge cheaper long term?
It can be if you reuse a good tub and choose compatible parts. It can cost more if repeated adapters, undersized cooling, leaks or separate failures lead to replacement.
Bottom line
A DIY chiller is a system-design project, not just a chiller purchase. Write down volume, climate, target temperature, flow, filtration, connection sizes and electrical conditions before ordering parts. If coordinating those pieces is the appeal, build methodically. If it is the obstacle, compare a packaged PlungeChill setup and buy only after the exact current specifications match your tub and location.
Sources
- PlungeChill: DIY cold plunge components and setup
- PlungeChill: standard chiller setup guide
- PlungeChill: 1 HP chiller setup guide
- NIOSH: cold stress guidance
Affiliate disclosure: BeautyTech Hub may earn a commission if you buy through sponsored links in this article, at no additional cost to you.